memories ...

memories ...
Posts tonen met het label dessert. Alle posts tonen

zondag 19 juli 2015

Alternative apple cake

We had two apples lying around and I had a craving for baking and eating something sweet. That much coincidence must lead to an apple dessert, don't you think? 

I saw a recipe for an Irish apple cake on The Baker Upstairs that looked lovely and I used the recipe for my version of the cake. I adapted it a bit to: (a) include some almonds that were lying around, (b) add some wholesomeness by adding oats to the flour content and (c) adding some vanilla too. My fourth alternation (my idea was to add some raisins to the apple mixture - I personally love the combination of apples and raisins ...) didn't get the approval of my dad and sister so wasn't executed. 
So the original recipe was only a guideline to the measurements for me :)


It's result was a tasty cake that wasn't heavy at all. 

Ingredients:
- 2 apples
- 1/2 teaspoon cinnamon
- 2 teaspoons white sugar
- 5 tablespoons oats, ground to resemble flour
- 4 tablespoons ground almonds
- 110 grams plain flour
- 50 grams vanilla pudding powder
- 150 grams white sugar
- 8 tablespoons butter
- 3 teaspoons baking powder
- 1 egg
- 125 ml milk


How to:
First butter and flour a round cake tin (diameter of about 28 cm). Preheat the oven to 175°C.
Cut the apples in small cubes and mix them with the two teaspoons of sugar and the cinnamon.
Mix the flour, the vanilla powder, baking powder, the sugar, ground oats and ground almonds.
Put the 8 tablespoons of butter in the flour mixture and mix it through by hand so that a course mixture is formed.
Mix the milk and the egg with a fork and add this to the rest of the ingredients. Then, mix until just combined.
Put 2/3 of the batter in the cake tin and spread the batter to cover the whole surface.
Then scatter the apple mixture on top of the batter. With a spoon, put some dollops of the rest of the batter on top of the apples. Try to spread the remaining batter as well as you can to cover the apples.
Put in the over for about 25 minutes or until lightly browned on top.
Serve slightly cooled. 


Smakelijk!


zondag 12 juli 2015

Shortbread biscuits

Being in Scotland, we just couldn't ignore the fact that shortbread biscuits were all around. Both of us received a small package of these simple but delicious biscuits as a welcome gift (next to small wine bottles, a range of teas, and some chocolates) from the owners of the cottage we rented. 


On the 3rd of July, I was to receive my results of the final exams. Not having internet, my mum would call me when she'd received them and at a quarter past 2 in the afternoon I got the long awaited call to tell me I passed and received some very good results. I was over excited and we had a mini celebration at night on 'our' little terrace with tea, wine, shortbread biscuits and chocolates. It was small, not fancy nor decadent but pure bliss knowing nothing was there to worry about under the Scottish sun :)

Home, I wanted to recreate the shortbread biscuits and as they are super simple to whip up, I could serve them in no time. I'm not claiming this is the original recipe but they were great!


Emily enjoying the evening 

Ingredients for 20 small biscuits:
- 120 grams butter
- 60 grams sugar
- 175 grams flour
- pinch of salt
- two extra table spoons of sugar


How to:
Preheat the oven to 180°C.
Cream the butter and the sugar.


When combined, add the flour and the salt and mix with your hands. You'll soon have a heavy dough you can easily shape.
Put the dough on a smooth surface (I used a parchment paper lined table) and form a square shape of about 1 cm thick.
Then you can cut it into 10 long 'fingers' which you can cut in half afterwards to become 20 sort of evenly shaped elongated biscuits.


I rolled mine in a little sugar for extra texture. 


Put the biscuits on a parchment lined baking tray and bake for about 20 minutes or until sides become slightly golden brown.


Leave to cool.


They disappeared very quickly so be fast to taste-test! ;)

Smakelijk!

vrijdag 19 juni 2015

Red and green cupcakes

There was a little get-together planned with three of my friends and for the occasion I offered to make some treats. I decided to make thumbprint cookies (next post I'll talk about that) and some vanilla cupcakes. 


To decorate I used the fondant icing that I'd been given by the same friends with the explicit message to make them some cupcakes. Well, they got what they asked for! ;)


Ingredients for 12 well sized cupcakes (you can make them smaller and distribute the batter in 15 cupcake liners also!):
- 225 grams sugar
- 1 teaspoon baking powder
- 1/4 teaspoon salt
- 113 grams butter
- 3 eggs
- 150 grams Greek yogurt/cottage cheese/curd cheese/milk
- 140 grams flour (or 190 grams flour and vanilla extract = instead of using pudding powder)
- 50 grams instant vanilla pudding powder
- 300 grams fondant icing (in two colours: I used red and green of Dr. Oetker)

How to:
Preheat the oven to 180°C.
Cream the butter and the sugar with an electric mixer. When combined and creamy, add the eggs one at the time and keep on mixing. Then add the yogurt.
Add the salt, the flour and the pudding powder or vanilla extract. Mix well.
Line a baking tray for 12-15 cupcake. Divide the batter over the cupcake liners.


Put the tray in the oven and bake for 18-22 minutes. Check the cupcakes before taking out of the oven.
Leave the cupcakes to cool before decorating.


For decoration, divide the icing into 12 small balls. Roll each of the balls of icing out until a thin and round sheet (1-2 mm thickness) is formed. When too thick, the icing is too present on the cupcake and the taste will dominate the taste of the cupcake. With a cookie cutter (any shape), cut a shape out of each rolled out ball. Now you can interchange the cut-out shapes of the red and green sheets of icing.
Cover the cupcakes one by one and enjoy!


Smakelijk!


vrijdag 12 juni 2015

Strawberry tart

Strawberry time is a beautiful time. We normally just eat the strawberries like they are or on top of some ice cream. But today I wanted to use them for a fruit tart. 

It's a recipe that can be used for just any kind of fruit topping. But when the strawberries are abundant there's no better way to decorate the tart than with the bright red berries.


My dad is usually the one making these kinds of tarts here at home. He uses puff pastry in his but as I am not a big fan of puff pastry, I decided to go on a different route and used a shortbread crust. Crunchy, sweet and nicely shaped to hold the vanilla cream and the fruit.
For the filling, I used pastry cream. You can also use plain vanilla pudding (freshly made), and that will make it less heavy on the stomach (as it will not contain the eggs). The pastry cream is just a touch more luxurious and therefore our way to go. To decorate you can use strawberry jam to get that shiny layer on top but this is not obligatory in any way. You can also put on some whipped cream or use some powdered sugar to sprinkle on top of the tart. 

Ingredients for the crust:
- 85 grams sugar
- 155 grams plain flour

- 1 egg yolk
- 115 grams butter
- 1/4 teaspoon salt
- (optional) vanilla extract
Ingredients for the pastry cream:
- 1/2 l milk
- 2 eggs
- 50 grams of instant vanilla pudding powder
- 4 tablespoons of sugar
Ingredients to decorate:
- 200-250 grams fresh strawberries
- (optional) 3-4 tablespoons strawberry jam

How to:
First make the crust. Mix the dry ingredients and then add all the other ingredients. By hand or with an electric mixer, combine everything until the dough comes together in a big ball. Put the dough in a mall bowl and put away in the fridge for at least 30 minutes.
Preheat the oven to 190°C.
Butter and flour a tart pan (I used a silicone one of about 28 cm in diameter so I didn't need to grease it at all - easy!).
Take the dough out of the fridge and roll out. Put the dough in the pan and press well so that all the sides are evenly covered. I pressed the extra dough in with the rest but you can also make a few cookies with it.
Put it in the oven for about 30-45 minutes but check regularly. When the dough is golden brown and feels firm to the touch, it's ready. When ready, take out of the oven and let cool.


In the meanwhile, make the pastry cream:
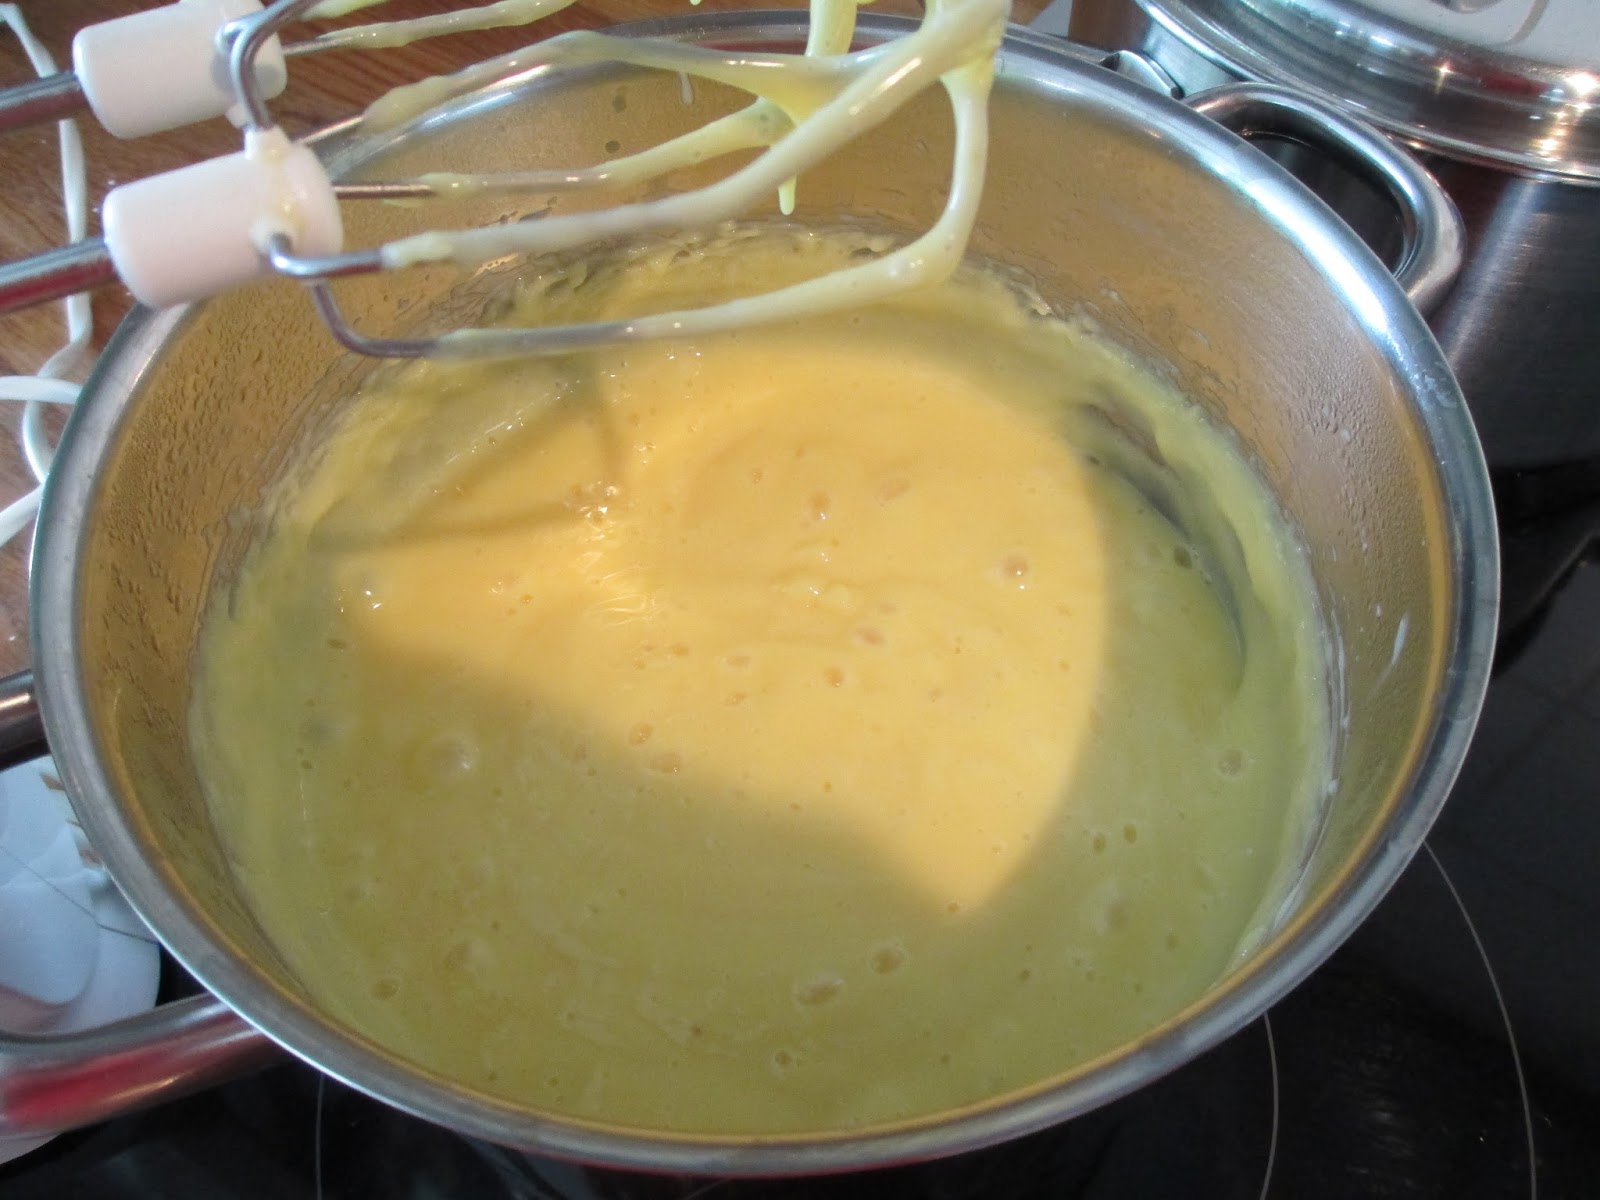
Beat the eggs, the vanilla pudding powder and the sugar with an electric mixer until frothy and slightly whitish-yellow.
Heat the milk until just boiling. Take the pot of milk off the fire. Pour the egg mixture in the milk and mix thoroughly. Then put the pot back on the fire and let cook for a minute so that the cream can cook a little.
Take the pot off the fire and let cool up to room temperature. Regularly stir it to prevent lumps forming or a skin on top.


When the crust had time to cool off, take it out of the pan and you're ready to decorate:


Spread the cream in the crust. Slice the strawberries and cover the cream with the berries all over.

Heat the strawberry jam slightly until it's pourable and brush the tart all over the top with the jam to obtain a shiny layer on top.


Smakelijk!

dinsdag 2 juni 2015

Orange and chocolate cake or Jaffa cake

Who doesn't know Jaffa cakes?

Jaffa cakes are (according to Wikipedia):
'... biscuit sized cakes introduced by McVitie and Price in the UK in 1927 and named after Jaffa oranges. The most common Jaffa cakes are circular, 2 and a half inches (64 mm) in diameter and have three layers: a Genoise sponge base, a layer of orange flavoured jelly and a coating of chocolate.'


In our house they never last long. My sister can eat a whole package of 16 Jaffas in a day and that all by herself. It's a wonderful flavour combination of course: orange and chocolate just go together very well.  

I decided to make Jaffa cake. Not the regular prepackaged Jaffa cakes but one real cake with an orange jam filling and a chocolate coating. The flavours are there but it's more of a filling dessert than the thin Jaffas. I bet only one piece is needed instead op 16 to still the craving :p


just underneath the chocolate, you'll find a thin layer
of orange, just like in the Jaffa cakes

For the cake, I made sort of a pound cake with Greek yoghurt. It would be great in a bundt pan but as I don't have one myself at the moment, I made it with a regular rectangular cake pan. Feel free to use whatever you want.


In my batter, I forgot to put salt. It didn't make it less good but it's better to add salt. Salt is an enhancer of anything sweet.
I also put a little orange zest to the batter which is totally optional as well.

The cake turned out very good. The cake is moist in the middle and the chocolate covers the crusty outer layer.

Ingredients for 10 slices:
- 280 grams plain flour (or 230 grams flour and 50 grams (1 package) of instant vanilla pudding powder like I did)
- 1 package of baking powder
- 1/4 teaspoon salt
- 300 grams sugar
- 225 grams butter
- 3 large eggs
- 
150 grams Greek yogurt
- optional: orange zest (half a teaspoon is sufficient)
- 100 grams orange marmelade
- 150-200 grams plain chocolate


How to:
Preheat the oven to 180°C.
Butter and flour a cake pan (bundt pan or rectangular shaped pan works best).
Mix the flour (and the pudding powder), the salt and the baking powder together.
Cream the butter and the sugar until light and fluffy by hand or using a mixer.
Beat in the eggs one after the other. When incorporated, add in the yoghurt. Mix very well.
Beat in the flour mixture gradually. Don't over mix but make sure all the ingredients are well combined.
Spread a little more than half the batter in the cake pan. Make sure the layer is evened out.
Spread the marmelade on top of the batter, making sure the marmelade doesn't touch the sides of the pan because otherwise it'll be a sticky business to get the cake out of the pan after baking.
Cover the marmelade layer with the rest of the batter. It's easier if you first fill the edges around the marmelade layer and then cover the top.
Put the cake in the oven for about 1 hour or until risen, golden brown and the top springs back when lightly touched.
Take out of the oven, let cool completely and take out of the pan.


Melt the chocolate and spread it over the cake on all sides.
You can use a brush to make this easier.


Let the chocolate layer dry and serve.


P.S.: Note that I didn't wait for the chocolate to set ... the result a slightly less  appealing (read: messy) piece of cake but as we like to say 'looks are deceiving, it's the inside (the taste) that counts!' :)

Smakelijk!


zaterdag 30 mei 2015

Sweet and tart slices

I am a follower of a great many food blogs. One of them I visit on a regular basis is The English Kitchen because I like the food on it. Nothing very fancy, just good food that's not a pain to make or costs a lot because of exclusive or hard to find ingredients. 


On The English Kitchen I saw a very good looking recipe for strawberry and rhubarb slices and I had to make them. They are made up of two layers: a crust that's not overly sweet with a sweet and tart fruit topping. This topping is a nice contrast to the crust because it's pudding like (it sets but doesn't get dry like a cake). 
I loved these slices a lot, and so thought my mum. My sister doesn't like anything with rhubarb because her stomach doesn't tolerate it (a pity) and my dad thought he liked to have something more cake-like so he didn't think much of it. But that didn't matter because there was more for me of course! (I liked them that much I took a slice for lunch yesterday ...)

Below you can find the recipe for 6 good servings or 8 smaller slices:

Ingredients for the crust:
- 85 grams butter
- 105 grams flour
- 3,5 tablespoons of sugar
Ingredients for topping:
- 1 egg
- 95 grams white sugar
- 50 grams light brown sugar
- 70 grams flour
- 1/2 teaspoon of baking powder
- 1/4 teaspoon salt
- 5 sticks of rhubarb (in 0,5 cm cubes)
- 4 big strawberries (in 0,5 cm cubes)

How to:
Make the topping in advance as it needs to stand in the fridge for at least half an hour.
Mix the eggs and sugars until fluffy with a hand mixer. Add all the other ingredients (except the fruit) one at a time and mix well. Then add the fruit and mix gently until all of the fruit is covered. Just make sure to not crush the strawberries altogether. Put in the fridge. 

After half an hour, preheat the oven to 180°C.
Mix the three ingredients of the crust well until you get a firm dough. Press this dough into a buttered ovenproof dish (I used a 15 x 20 cm glass oven dish) so that the dough covers the whole surface of the dish. 

Now pour the topping over the dough and make sure you spread the topping evenly.
Put in the hot oven and let bake for about 45 minutes or until the topping is set (doesn't wiggle) and is golden in colour.
Take out of the oven and let cool completely.

Serve immediately or up to several days afterwards (I kept them in the fridge).


Smakelijk!

maandag 20 april 2015

Trifles to share

If you ever wonder what to do with some cake that's left over, some cream in your fridge that needs to be used up or any type of fruit that's begging to be eaten soon, some booze in the cupboard, look no further: it's time for trifles!


Trifles are super simple and what I'm showing you isn't really a recipe. If you have above mentioned ingredients, you don't need to rush out to get something else (necessarily - unless you want to make them without having left overs or want to fancy things up with extras of course). 

Let me tell you the story of the heavy cream in the fridge:
At home we made waffles a couple of weeks ago for a bunch of family members that came over. In our waffle craze, we thought it was wise to buy more of every ingredient, just in case anyone went hungry (this is a typical Belgian trait, we always tend to buy a lot and serve a lot, even though we have already planned to eat something else the next day and won't be doing anything with the left overs ...). We didn't buy one liter of heavy cream but TWO. Two liters is a lot, I can tell you. Even after eating a pile of waffles each, the 10 of us, there was one and a half liters of cream left. Luckily we only whipped up one liter that time so we only needed to worry about working half a liter up as soon as possible. The other box would keep longer in the fridge. We made chocolate mousse with the left over half liter and that was that.


This week, we checked the box of heavy cream that had been in our fridge for weeks and we saw it was to be eaten this week unless we wanted to throw it away. 
What to do? What to do? We thought about inviting some extra people and eat waffles and my dad was all crazy about that idea as he LOVES waffles but we decided against it. Waffles for dinner two times in a month is really too much. 
Plan B was to prepare a number of things to use the cream up: we could use some for pasta alfredo and have a layer cake with whipped cream (these two things are going to be served to us and a bunch of family members who are again helping us out ^^)

For the cream that would be left (because pasta and cake on one night made with that much cream is a major attack on about everything healthwise), we would bake a batch of waffles for dessert for dad (waffles, strawberries and whipped cream, he'll be in heaven). And as 
I also had one piece of cake left over, it was decided I could make trifles. 

How to do this? Well that's very easy and a lot of fun with some children as well!

Take a piece of cake (regular, vanilla, yogurt or even chocolate), some fruit (berries are wonderful but it's all your choice), whipped and sugared heavy cream (40% fat is what I use). Those are the main ingredients but the trifle can be fancied up with a type of alcohol like Amaretto/marsala or decorated with almond slivers, grated coconut, chocolate sprinkles, ... The possibilities are endless: If you don't have cake, take biscuits and crumble them. If you don't have whipped cream on hands, use some vanilla custard.
The amount of each is not very important, if you prefer or have less of the cake it will be less heavy and more fruit makes it healthier.


Cut the cake in small cubes and sprinkle some drops of the alcohol on it if you like. I used some marsala for the almond flavour it gives. For my two glasses of trifle, I used 1 large piece of cake.


Take some fruit and cut it in smaller pieces. Fruit like raspberries don't need to be cut up, they're the right size. I cut the strawberries however, to have pieces the size of raspberries. When the fruit has the same size, it'll be a more even trifle in the end. I used couple of strawberries and raspberries. I didn't have them so I specially went to the shop for them, just because I wanted to eat berries in the trifle and not any other fruit (but that's me). 


Whip up the heavy cream with some icing sugar to taste. 

Then it's time to make the layers: Take a tall glass or any glass of any size you like. I took some larger round glasses and this makes these trifles BIG. Good to share or for big appetites :)  Smaller glasses are good when you need some portion control or when you serve it after heavy main courses.
With a little help from some spoons, layer the ingredients. I started with some cream, then some fruit and then cake cubes. You keep on layering until you've filled the glass. Anything left over can be eaten by the cook, the dog or anyone who's eyeing you hungrily. 

I wanted to decorate a bit with almond slivers but I couldn't find them. They must have been used up. But as they are just extra, no worries.

Put the glasses in the fridge until you serve them. 

Smakelijk!