memories ...

memories ...
Posts tonen met het label baking. Alle posts tonen

zondag 19 juli 2015

Alternative apple cake

We had two apples lying around and I had a craving for baking and eating something sweet. That much coincidence must lead to an apple dessert, don't you think? 

I saw a recipe for an Irish apple cake on The Baker Upstairs that looked lovely and I used the recipe for my version of the cake. I adapted it a bit to: (a) include some almonds that were lying around, (b) add some wholesomeness by adding oats to the flour content and (c) adding some vanilla too. My fourth alternation (my idea was to add some raisins to the apple mixture - I personally love the combination of apples and raisins ...) didn't get the approval of my dad and sister so wasn't executed. 
So the original recipe was only a guideline to the measurements for me :)


It's result was a tasty cake that wasn't heavy at all. 

Ingredients:
- 2 apples
- 1/2 teaspoon cinnamon
- 2 teaspoons white sugar
- 5 tablespoons oats, ground to resemble flour
- 4 tablespoons ground almonds
- 110 grams plain flour
- 50 grams vanilla pudding powder
- 150 grams white sugar
- 8 tablespoons butter
- 3 teaspoons baking powder
- 1 egg
- 125 ml milk


How to:
First butter and flour a round cake tin (diameter of about 28 cm). Preheat the oven to 175°C.
Cut the apples in small cubes and mix them with the two teaspoons of sugar and the cinnamon.
Mix the flour, the vanilla powder, baking powder, the sugar, ground oats and ground almonds.
Put the 8 tablespoons of butter in the flour mixture and mix it through by hand so that a course mixture is formed.
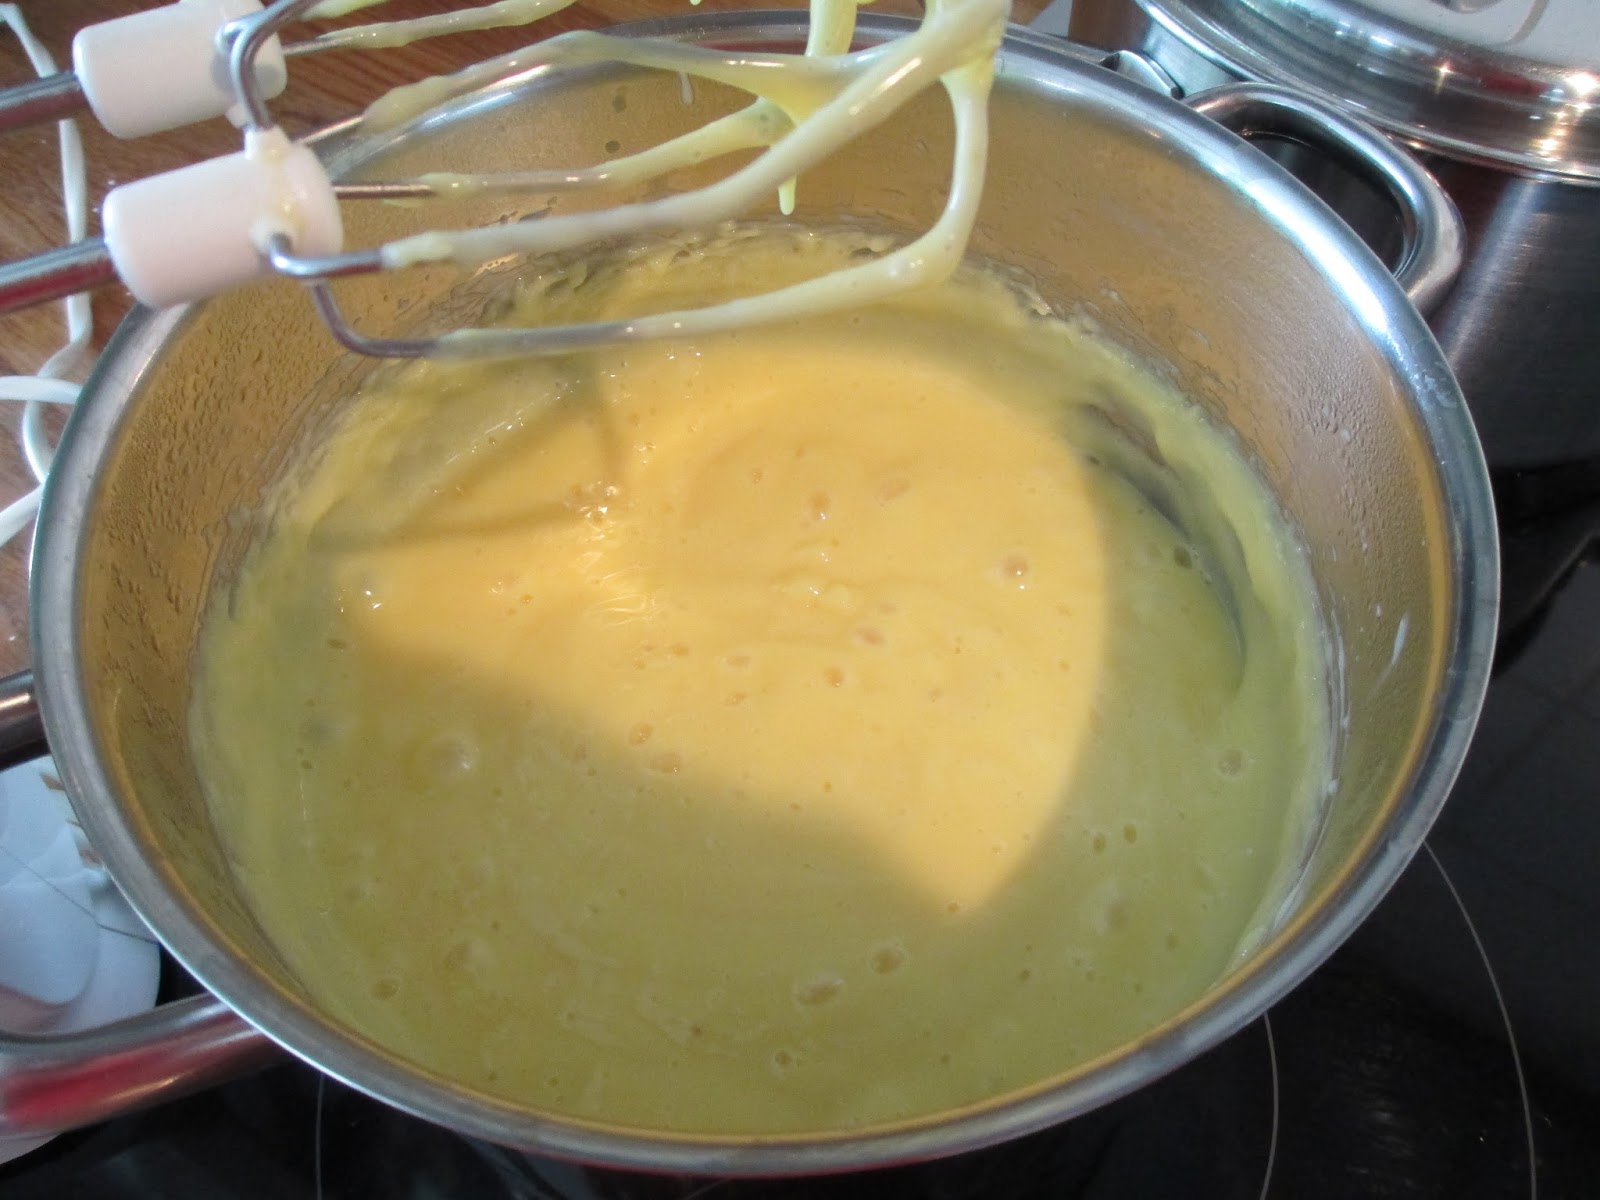
Mix the milk and the egg with a fork and add this to the rest of the ingredients. Then, mix until just combined.
Put 2/3 of the batter in the cake tin and spread the batter to cover the whole surface.
Then scatter the apple mixture on top of the batter. With a spoon, put some dollops of the rest of the batter on top of the apples. Try to spread the remaining batter as well as you can to cover the apples.
Put in the over for about 25 minutes or until lightly browned on top.
Serve slightly cooled. 


Smakelijk!


zondag 12 juli 2015

Shortbread biscuits

Being in Scotland, we just couldn't ignore the fact that shortbread biscuits were all around. Both of us received a small package of these simple but delicious biscuits as a welcome gift (next to small wine bottles, a range of teas, and some chocolates) from the owners of the cottage we rented. 


On the 3rd of July, I was to receive my results of the final exams. Not having internet, my mum would call me when she'd received them and at a quarter past 2 in the afternoon I got the long awaited call to tell me I passed and received some very good results. I was over excited and we had a mini celebration at night on 'our' little terrace with tea, wine, shortbread biscuits and chocolates. It was small, not fancy nor decadent but pure bliss knowing nothing was there to worry about under the Scottish sun :)

Home, I wanted to recreate the shortbread biscuits and as they are super simple to whip up, I could serve them in no time. I'm not claiming this is the original recipe but they were great!


Emily enjoying the evening 

Ingredients for 20 small biscuits:
- 120 grams butter
- 60 grams sugar
- 175 grams flour
- pinch of salt
- two extra table spoons of sugar


How to:
Preheat the oven to 180°C.
Cream the butter and the sugar.


When combined, add the flour and the salt and mix with your hands. You'll soon have a heavy dough you can easily shape.
Put the dough on a smooth surface (I used a parchment paper lined table) and form a square shape of about 1 cm thick.
Then you can cut it into 10 long 'fingers' which you can cut in half afterwards to become 20 sort of evenly shaped elongated biscuits.


I rolled mine in a little sugar for extra texture. 


Put the biscuits on a parchment lined baking tray and bake for about 20 minutes or until sides become slightly golden brown.


Leave to cool.


They disappeared very quickly so be fast to taste-test! ;)

Smakelijk!

vrijdag 12 juni 2015

Strawberry tart

Strawberry time is a beautiful time. We normally just eat the strawberries like they are or on top of some ice cream. But today I wanted to use them for a fruit tart. 

It's a recipe that can be used for just any kind of fruit topping. But when the strawberries are abundant there's no better way to decorate the tart than with the bright red berries.


My dad is usually the one making these kinds of tarts here at home. He uses puff pastry in his but as I am not a big fan of puff pastry, I decided to go on a different route and used a shortbread crust. Crunchy, sweet and nicely shaped to hold the vanilla cream and the fruit.
For the filling, I used pastry cream. You can also use plain vanilla pudding (freshly made), and that will make it less heavy on the stomach (as it will not contain the eggs). The pastry cream is just a touch more luxurious and therefore our way to go. To decorate you can use strawberry jam to get that shiny layer on top but this is not obligatory in any way. You can also put on some whipped cream or use some powdered sugar to sprinkle on top of the tart. 

Ingredients for the crust:
- 85 grams sugar
- 155 grams plain flour

- 1 egg yolk
- 115 grams butter
- 1/4 teaspoon salt
- (optional) vanilla extract
Ingredients for the pastry cream:
- 1/2 l milk
- 2 eggs
- 50 grams of instant vanilla pudding powder
- 4 tablespoons of sugar
Ingredients to decorate:
- 200-250 grams fresh strawberries
- (optional) 3-4 tablespoons strawberry jam

How to:
First make the crust. Mix the dry ingredients and then add all the other ingredients. By hand or with an electric mixer, combine everything until the dough comes together in a big ball. Put the dough in a mall bowl and put away in the fridge for at least 30 minutes.
Preheat the oven to 190°C.
Butter and flour a tart pan (I used a silicone one of about 28 cm in diameter so I didn't need to grease it at all - easy!).
Take the dough out of the fridge and roll out. Put the dough in the pan and press well so that all the sides are evenly covered. I pressed the extra dough in with the rest but you can also make a few cookies with it.
Put it in the oven for about 30-45 minutes but check regularly. When the dough is golden brown and feels firm to the touch, it's ready. When ready, take out of the oven and let cool.


In the meanwhile, make the pastry cream:
Beat the eggs, the vanilla pudding powder and the sugar with an electric mixer until frothy and slightly whitish-yellow.
Heat the milk until just boiling. Take the pot of milk off the fire. Pour the egg mixture in the milk and mix thoroughly. Then put the pot back on the fire and let cook for a minute so that the cream can cook a little.
Take the pot off the fire and let cool up to room temperature. Regularly stir it to prevent lumps forming or a skin on top.


When the crust had time to cool off, take it out of the pan and you're ready to decorate:


Spread the cream in the crust. Slice the strawberries and cover the cream with the berries all over.

Heat the strawberry jam slightly until it's pourable and brush the tart all over the top with the jam to obtain a shiny layer on top.


Smakelijk!

vrijdag 15 mei 2015

Speculoos cookie tart

I know you all know Biscoff spread, the spread that has quickly won the hearts (and taste buds) of many over the last few years. Did you know it's Belgian? 

A few years ago we had a TV show about a competition for the best inventions. One of the competitors was a mother who'd invented a tasty spread for her children based on our Belgian speculoos cookies. She didn't win the competition but she did develop the spread with the company that produces the speculoos: Lotus. 


In Belgium it became known as 'speculaaspasta' (speculoos spread) but of course that would be quite hard for an English native to pronounce so Biscoff spread became the regular name in the English speaking world. 

I used this spread to make a cookie tart. I've seen quite some cookie tarts or monster-sized cookies around the blog world, but I wanted to try something different from the chocolate chip variety.

It's something you can whip up in barely a few minutes, it's as simple as that!

Ingredients:
- 6 tablespoons of Biscoff spread
- 100 grams light brown sugar
- 3 tablespoons of Greek yogurt
- 1 teaspoon of baking powder
- 1 teaspoon of corn starch
- 230 grams flour
- 1/4 teaspoon salt
- 1 egg
- 10 speculoos cookies (optional), crumbled

How to:
Preheat the oven to 180°C.
Mix the Biscoff spread with the sugar and the yogurt. Add the egg and mix.

One after the other, mix in the baking powder, the salt, the corn starch and the flour. You'll get a firm dough that doesn't stick to the bowl when stirred.
Butter and flour a round tart tin. 
With your hand, put the dough in the tart form and press the dough with your fingers until it is even all around. Optionally, you can sprinkle the speculoos crumbles over the dough. 


Put in the hot oven and bake for approximately 20 minutes.
It will still be soft in the middle but that's normal. 
Let cool slightly and deform on a plate. 
Cut in wedges and serve.

Smakelijk!

woensdag 13 mei 2015

Simple apple and raisin cake

I was looking at half an apple my sister had left behind yesterday. She is allergic to apples but like to eat them so she eats half of an apple to avoid the most severe reactions but then we're left with left-overs. I'm not the kind of person to throw away food so I needed to rescue the apple from the trash (just saying: we wouldn't throw it in the trash, any left-over apple would be donated to the garden birds). 

Apple, some cinnamon and raisins make a perfect combination and a cake the perfect way to incorporate all of these ingredients.


This is a very basic cake recipe. It really is a granny's recipe and the beauty of it is that you can add anything - chocolate chips, apple slices, raisins and other dried fruits, ... - to it, just to your own taste. 

Ingredients:
- 4 eggs, separated
- 150 grams plain flour
- 50 grams instant vanilla pudding mix
- 1 packet of baking powder (15 grams)

- 200 grams white sugar
- 1 splash of vanilla essence
- 140 grams butter
- 1 full hand of raisins
- 1/2 big apple or 1 small apple
- 1/2 teaspoon cinnamon mixed with 1 tablespoon of white sugar


How to:
Preheat the oven to 180°C.

Soak the raisins in some water in a small bowl. Cut the apple into small cubes and mix with the cinnamon sugar.
Mix the butter and the sugar until soft. You see I don't own a Kitchen Aid so I do a real work out when making a cake ;)


One thing that's great about Summer (or Summer temperatures) - apart from the fact that it's simply the best season of them all - is that when you make a cake and want to soften some butter and mix it with sugar, you can simply set the bowl on the garden table and within a fraction of the usual time it's soft and ready. 

Add the vanilla essence to it and mix well. Add the egg yolks until incorporated.
Put the flour, baking powder and pudding mix to the batter and mix very well until no lumps remain. Then add the raisins (without the soaking water!).
Beat the egg whites until stiff and gently stir them into the rest of the batter.


Butter and flour a cake tin and put the batter in it. Spread the batter gently so that the top is evened out. Spread the apple cubes on top. 


Bake for 45 minutes or until the cake is set, golden brown and until a toothpick inserted in the centre of the cake comes out clean.  


Take out of the oven, let it cool completely and take out of the cake tin. 

Smakelijk!


zaterdag 2 mei 2015

Peanut butter and chocolate chip cookies

Today we're going to Brussels. We are going there to celebrate my sister's graduation and to visit my 'brother-in-law's' (my sister's boyfriend) place. He's a teacher in Brussels and has a place there while my sister is still at home. Most of the times they see each other during the weekends and once a week, when he has a day off. 

To celebrate, we're visiting a Chagall exhibition and are going to eat out in the Matonge area (a neighbourhood in Brussels where there live a lot of people of African/Congolese descend).  

And because we're visiting his place, we cannot go without taking something with us for him. So I baked some cookies. And not just any kind of cookies. My sister is a chocolate cookie fanatic and both of them love to have peanut butter on their bread. So combining these two makes peanut butter and chocolate chip cookies :)


For inspiration, I looked at some recipes and the one on Lovin' from the oven looked good. The pictures looked simply yummy. 

To make these I made a few changes though. I didn't use any milk nor baking soda. Just because the cookie dough seemed creamy enough to add milk and I don't have baking soda. A last change I made was using a real bar of good Belgian chocolate instead of using chocolate chips. Why you may ask? Even though you still have to cut the bar up yourself, I like to know what kind of chocolate is in my cookies. When using a bar I like to eat myself, I know it will be good. Chocolate chips are more of a baking good than a delicacy. And with the good Belgian chocolate around, why not use that right away? 

Because of these changes and the size of my cookies, mine took a while longer to bake too. 

Ingredients:
- 113 grams butter
- about 6 big spoonfuls of peanut butter (same volume as butter)

- 100 grams light brown sugar
- 100 grams granulated sugar
- 1 teaspoon baking powder
- 1 teaspoon vanilla extract
- 1 egg
- 155 grams all purpose flour
- 100 grams dark chocolate bar (chopped up)


How to:
Preheat the oven to 375°F or 190°C.

Combine the butter, the vanilla extract, the peanut butter and both sugars until they form a creamy dough. Add the egg and combine well. 
Then add the flour and the baking powder slowly (I did this in 3 batches, just to make sure everything was mixed in well).
Lastly, add the chocolate and mix. 
Line a baking sheet with parchment paper and make balls of the dough you just made (I used a table spoon and made balls of the heaping spoonfuls of dough). I recommend using two baking sheets to be sure the cookies are well spaces. They don't really spread much though.


Bake the cookies for a few minutes until you see the balls 'melt' down a bit. Then take a spatula and press the balls down so they are about 1 cm thick.


Bake them further for another 10 minutes or until they feel slightly firm (they firm up while cooling) and are golden brown around the edges.


Ready. They are good eaten warm but cold as well.

They make very crumbly cookies but that's good. 
I ate one with a hot chocolate while watching a movie. Very good combination. 

Smakelijk!

zaterdag 18 april 2015

Grape and yogurt cake

Weekend equals baking. Actually, any day I have time on my hands is a baking day. To my parents and sister and about every person who knows me a bit, it's not a surprise I baked a cake again. It's a good thing they've got good appetites!

I got some inspiration through the blog Laws of the kitchen. There I found a post about a grape harvest cake that looked really good. That cake was based on this recipe of grape harvest cake. I hadn't ever thought of using grapes in a cake or any other baked goods. I thought of grapes as fresh fruit and maybe a nice addition to hearty dishes like stews. This was a totally new thing for me. 


I took the recipe and by making some changes to the recipe I turned it into this cake. 
Below you'll find how I made it. 

Ingredients
- 200 grams vanilla scented sugar
- 100 grams light brown sugar
- 50 grams instant vanilla custard powder (I use Oetker)
- 260 grams plain flour
- 1 packet of baking powder (about 20 grams)
- 7 tablespoons of butter
- 236 ml milk

- zest from 1 orange
- 1 teaspoon salt
- grapes (I used about 20 pieces)
- 150 grams Greek yogurt

- 4 eggs
How to:
Preheat the oven to 160°C.
Mix the flour, the baking powder, the salt and the vanilla custard powder together.
Warm the milk and the butter with the orange zest until the butter is melted.

Crack the eggs in the bowl with the sugar and whisk with an electric mixer until the egg mixture is very frothy and light coloured. 


Mix the yogurt in the egg mixture. Whisk.
Mix half of the flour mixture in. Whisk.
Mix half the milk mixture in. Whisk.
Mix the rest of the flour mixture in. Whisk.
Mix the rest of the milk mixture in. Whisk.

Put the grapes in the batter and pour everything in a buttered and floured cake tin (I used a spring form tin of about 26 cm diameter)


Put in the oven and bake for about 50 minutes or until the cake feels firm when touched.
Take the cake out and let cool slightly. 

Take the cake out of the form, carefully because the grapes might stick to the sides and the bottom.


For serving: dust the cake with some icing sugar for a prettier look. 


My mum is my usual taste-tester and she liked it. She said that the grapes resemble raisins or currants but different. The orange zest wasn't that present but it was good, she said.
She happy, me happy!
I took a piece as well and liked it as well. It's a dense cake and I would make it again as it has a hint of citrus, a good vanilla flavour and the grapes make the cake juicy. 

Smakelijk!